We completed a control technology project with my 8th Grade class this term. The students could choose from a range of tools and materials including
- Raspberry Pi
- Arduino
- Makey Makey
- Lego
- 3D printed enclosures, or using a 3D extrusion pen
So, we discussed what types of project they could make, and I mentioned an alarm system. Immediately they asked how this would be different from a simple burglar alarm project they had completed a few years earlier when learning about electricity.
You’ve probably seen the experiment before, you make a simple pressure pad using card and some conductive material (could be wire, kitchen foil, conductive tape or even graphite pencil!). When the surfaces are brought together, it completes a circuit with a battery and a buzzer.
I responded by listing the following modifications:
- Create a delay between the mat being stepped on, and the alarm sounding
- Change the buzzer sound to a recorded sample played via your computer or another device
- Change the volume of the sound to increase over time.
- Add flashing lights
- Set a maximum time for the alarm to sound for
- Reset the alarm to replay after a suitable delay
- Use additional sensors to make the alarm effective in different contexts – eg a Hall effect sensor and a magnet fastened to a door
To show my classes what was possible, I used a 3D extrusion pen to make some models.
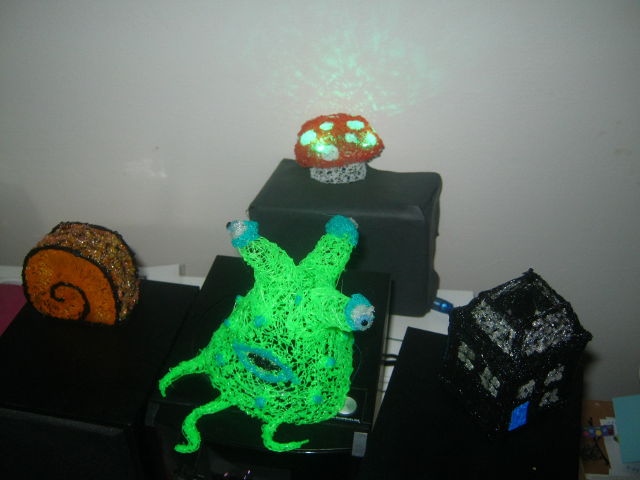
Starting with the house, I added an infra-red sensor so I could switch an LED embedded inside it on or off. We then changed this to a simple button which would light the house up when pressed, and switch off when not. We changed this to a delay, so that the house lights would switch on for a set number of seconds before turning off. Some of the students made their own houses and used capacitative touch sensors to trigger the lights coming on.
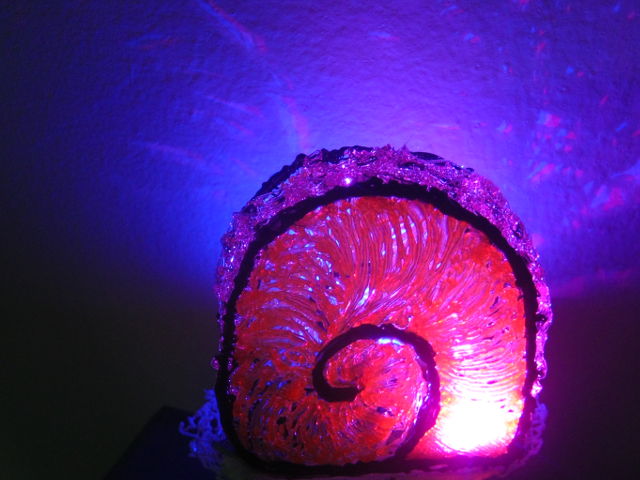
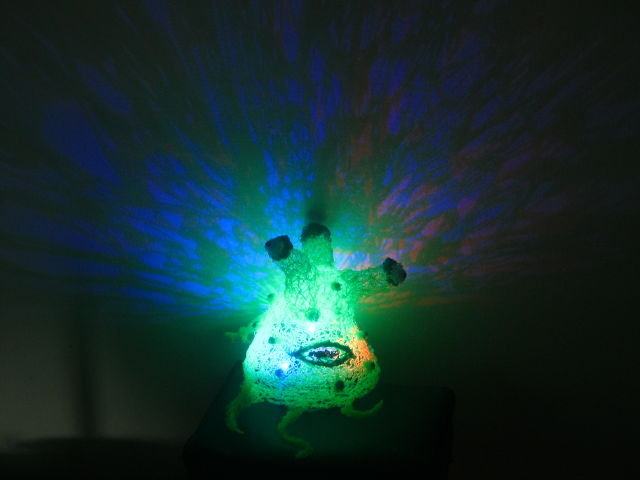
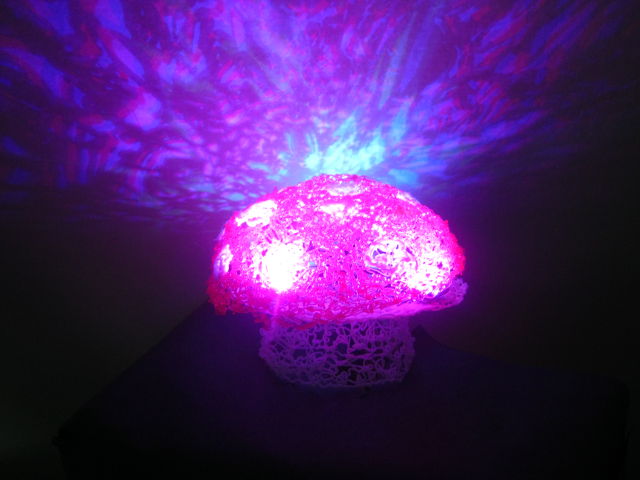
Finally, we looked at using a light sensor – so that when it gets dark, the lights go on, by using three RGB LEDs switching on and off randomly.
This meant you could make nightlights which cast interesting patterns on the wall as the colours of the LEDs change. My contributions included these three:
The creative process doesn’t stop there though. We discussed using a microphone to make a noise activated light; using PWM pins on an Arduino to dim/brighten the lights or phase from one colour to the next; adding a proximity sensor so that as someone approaches the light, it switches on or changes colour, and a buzzer that sounds if they get too close.